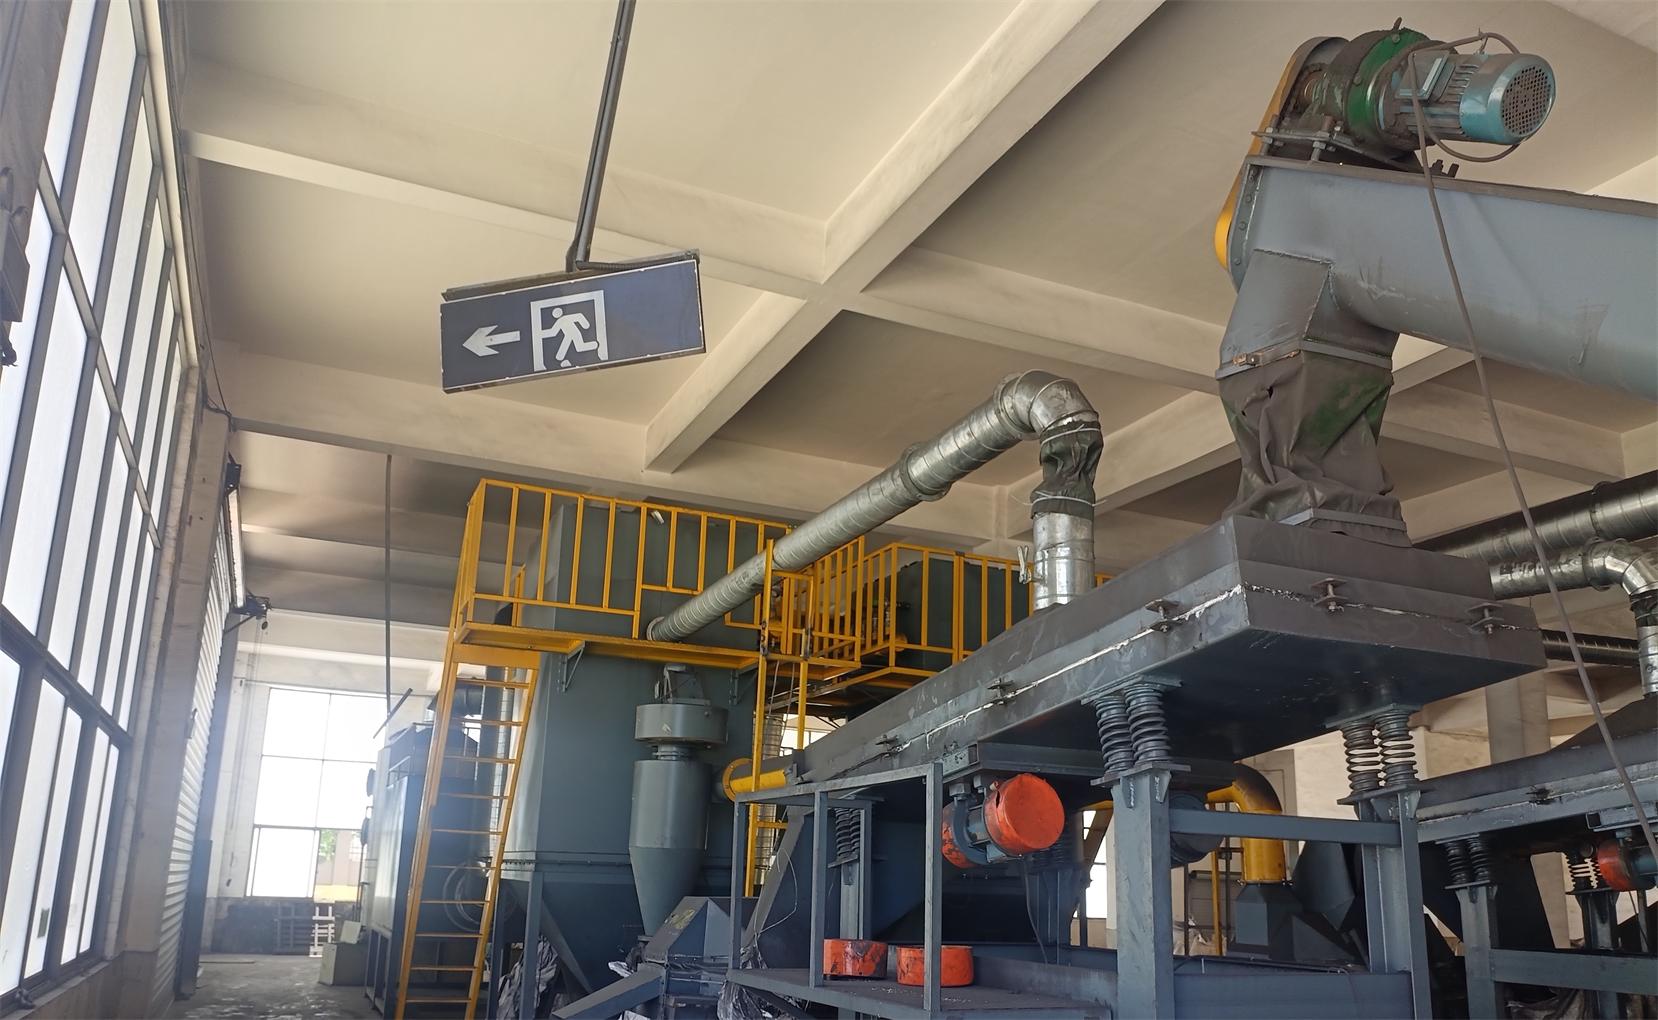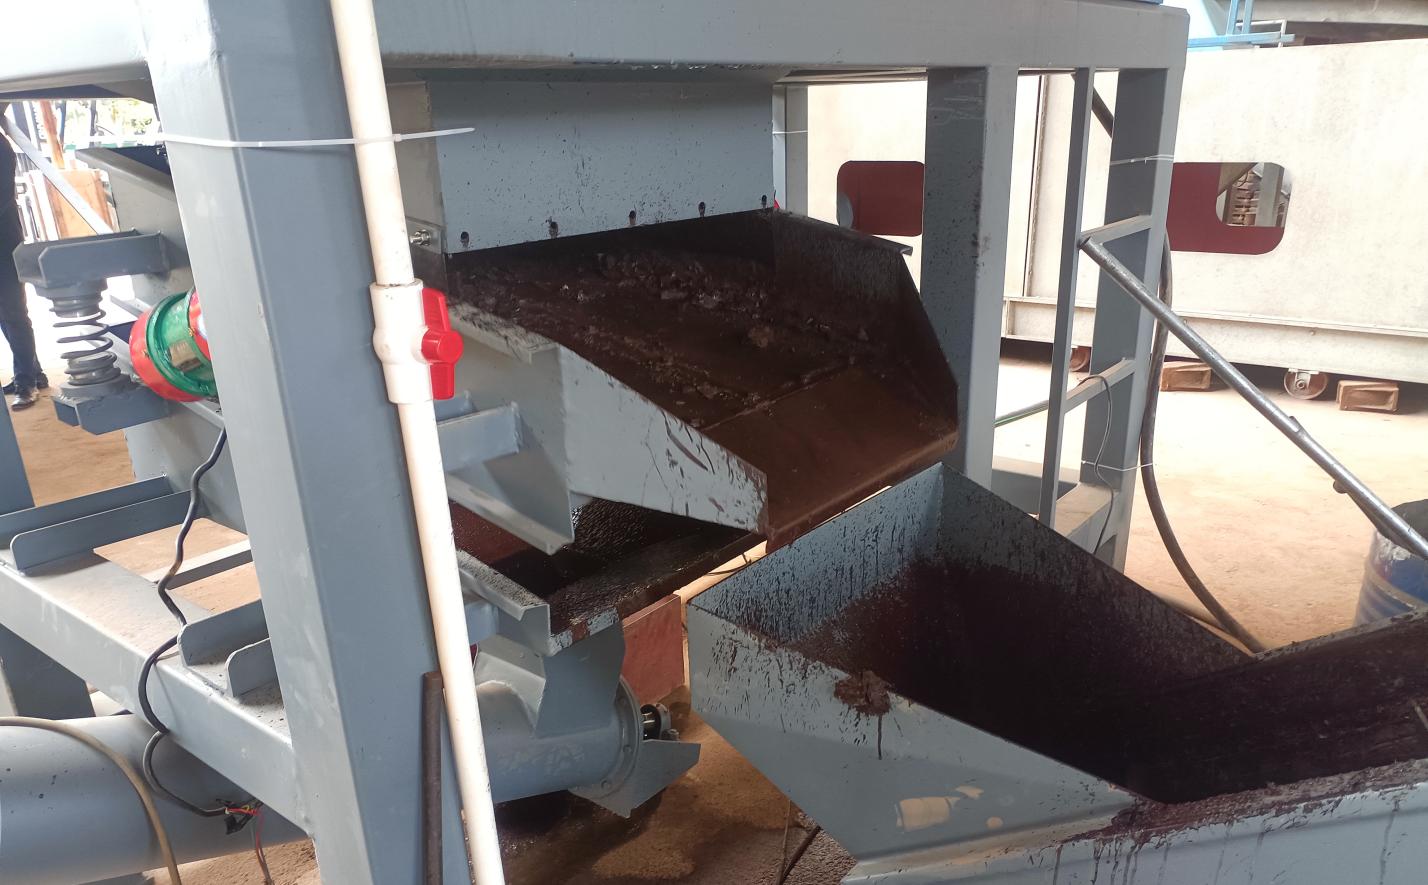
If you’ve ever walked into a plastic recycling facility, you’ve probably seen it: that network of pipes snaking through the ceiling,偶尔伴随着低沉的嗡嗡声, moving plastic pellets or flakes from one end of the plant to another. That’s a plastic pneumatic conveying system in action—quietly, efficiently, and often underappreciated. But here’s the thing: using one isn’t just about flipping a switch. To get the most out of your system, keep materials flowing smoothly, and avoid costly downtime, you need to know the ins and outs. Let’s dive in.
First Off: What Even Is a Plastic Pneumatic Conveying System?
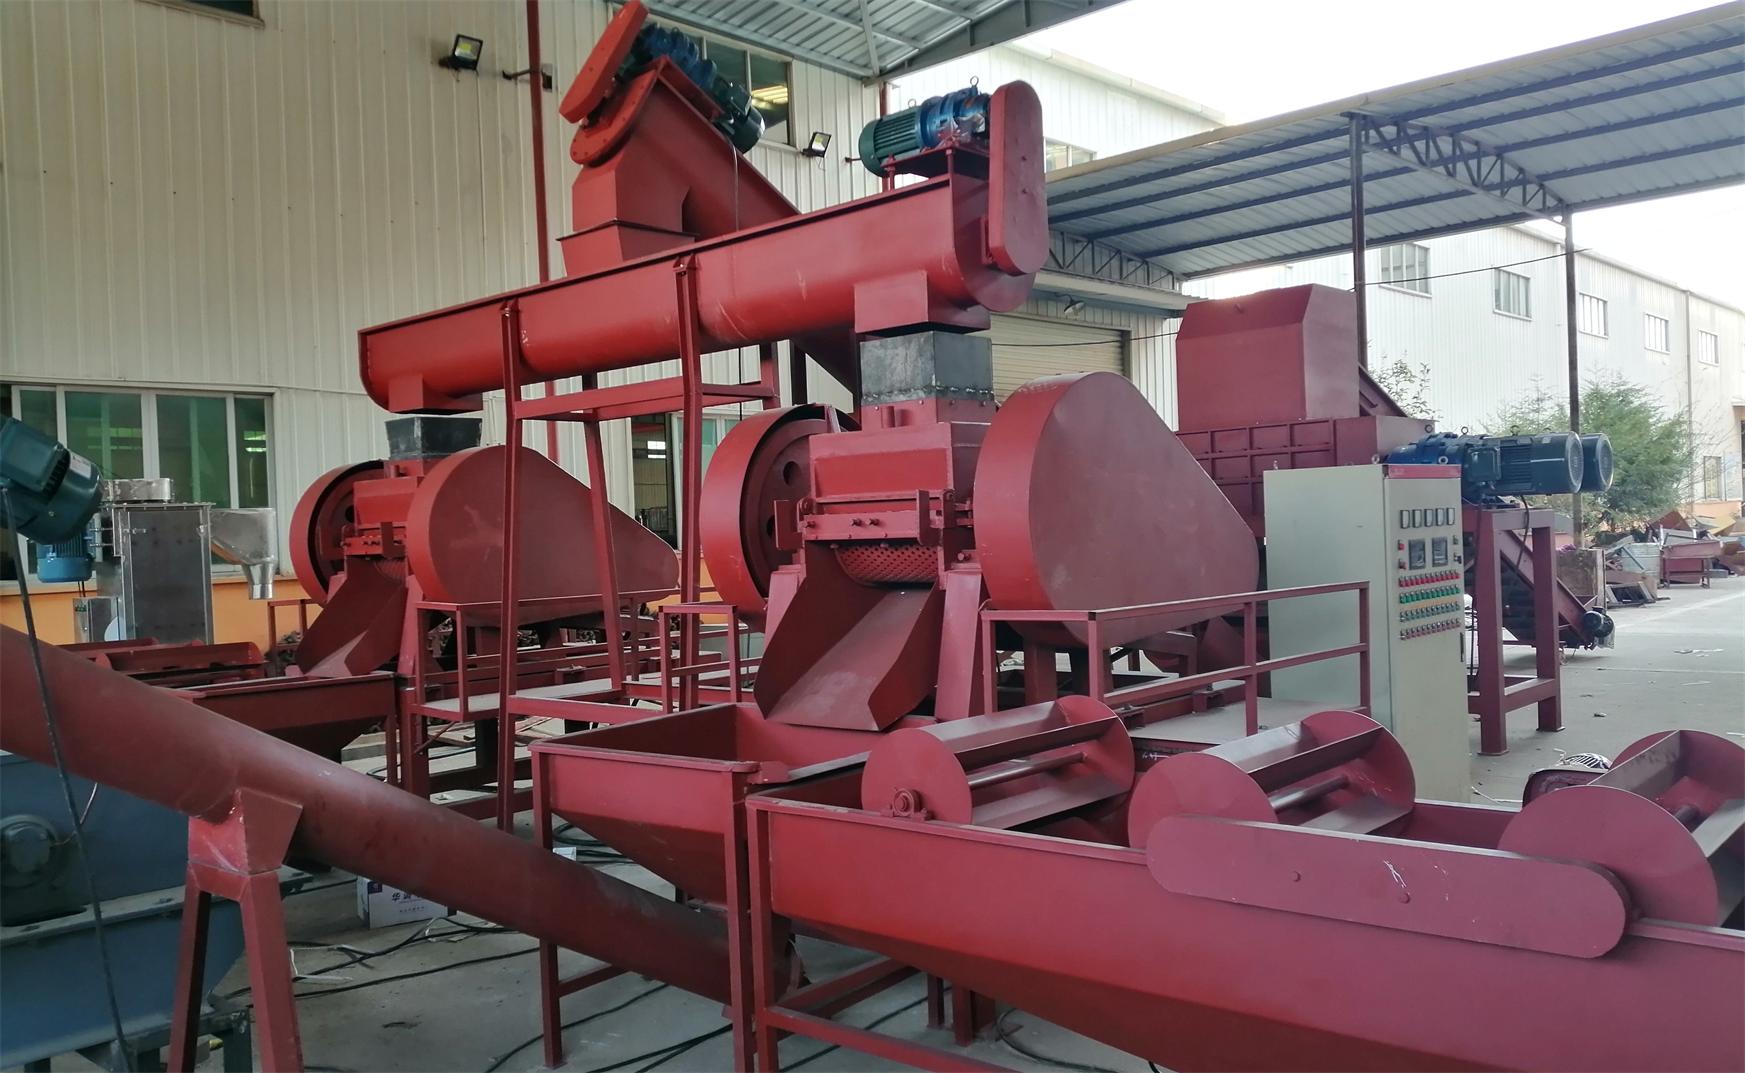
Before we jump into “how to use,” let’s make sure we’re on the same page. A plastic pneumatic conveying system is like a high-tech vacuum (or blow dryer, depending on the setup) for plastic materials. It uses air pressure or vacuum to move dry, granular, or powdered plastic—think recycled PET flakes, HDPE pellets, or even plastic scrap—through a closed pipeline. No messy conveyor belts, no manual lifting, just air and physics doing the heavy lifting.
Why does this matter? For plastic recycling operations, where materials need to move quickly between shredders, separators, and processing machines, these systems are game-changers. They save space, reduce labor, and keep materials clean (no dust or contamination from open conveyors). But to reap those benefits, you’ve got to use it right.
Breaking Down the System: What You’re Working With
Imagine trying to drive a car without knowing what the engine or brakes do—it’s not going to end well. Same with pneumatic conveying systems. Let’s break down the key components so you know what each part does and how they work together.
| Component | What It Does | Why It Matters for Plastic |
|---|---|---|
| Air Source (Blower or Compressor) | The “engine” of the system—generates the air pressure or vacuum to move materials. | Plastic is lightweight but can clump; the right air flow prevents blockages. |
| Feeder/Loader | Controls how much plastic enters the system (e.g., rotary valves, venturi feeders). | Too much material at once = pipeline jams; too little = inefficient conveying. |
| Conveying Pipeline | The “highway” for plastic—pipes (usually PVC or stainless steel) that carry materials. | Elbows and diameter changes need careful design to avoid plastic getting stuck. |
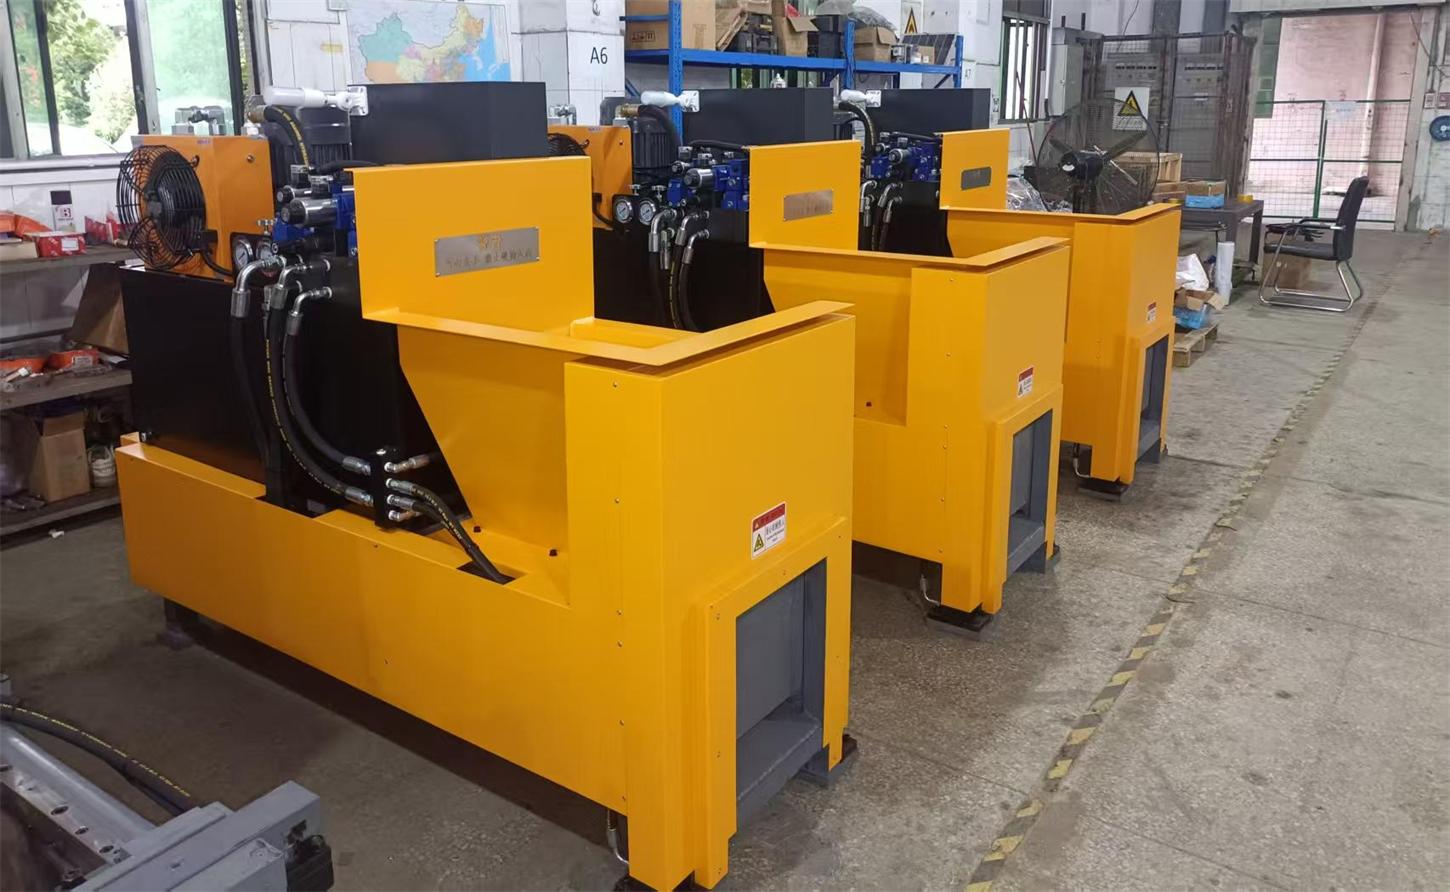
| Receiver/Separator | Separates plastic from air at the end of the line (cyclone separators are common here). | Ensures plastic lands in the next machine (like a hydraulic briquetter equipment) and air is filtered. |
| Filter System | Captures fine plastic dust from the exhaust air (often uses filter press equipment for efficiency). | Keeps the air clean—critical if you’re using an air pollution control system equipment downstream. |
Pro tip: Every component plays a role, but the feeder and pipeline are the most common trouble spots. If you’re dealing with fluffy plastic flakes, for example, a venturi feeder might work better than a rotary valve to avoid crushing the material.
Step-by-Step: How to Actually Use the System
Okay, you know the parts—now let’s walk through using the system from start to finish. I’ll break it down into 5 key steps, with tips for plastic-specific challenges (looking at you, static cling).
Step 1: Prep the System (and Yourself) Before Startup
Here’s the golden rule: Never hit “start” without checking the system first. Plastic can leave residue from the last run, or a loose pipe fitting might have gone unnoticed. Do this checklist:
- Inspect the pipeline: Look for cracks, dents, or buildup inside (use a flashlight to peer into the ends). Even a small dent can catch plastic flakes and cause a blockage.
- Check the feeder: Make sure the hopper is clean and the feeder mechanism moves freely. For rotary valves, grease the bearings if they’re dry—plastic dust loves to gum up moving parts.
- Test the air source: Fire up the blower/compressor briefly and listen for odd noises (squealing = bad). Check pressure gauges to ensure they’re reading zero when off—if not, there might be trapped air.
- Clear the receiver: Empty any leftover plastic from the separator to avoid overloading it when you start.
Step 2: Set Up the Material and Feeding Rate
Plastic isn’t one-size-fits-all—pellets, flakes, and powder all behave differently. You’ll need to adjust the feeder speed based on what you’re moving. Here’s a quick guide:
For pellets (e.g., recycled HDPE pellets): They’re dense and flow easily. Set the feeder to medium-high speed (around 70% capacity) and use higher air pressure (10-15 psi) to keep them moving.
For flakes (e.g., post-consumer PET flakes): Fluffy and light—too much air will blow them all over the receiver. Use lower pressure (5-8 psi) and slow the feeder to 40-50% capacity. If they clump (thanks, static!), add a small amount of anti-static agent to the hopper (but check if it’s safe for your end process).
For powder (e.g., ground plastic dust): The trickiest! Use a venturi feeder instead of a rotary valve to avoid packing, and keep air pressure low (3-5 psi). You’ll also need a high-efficiency filter press equipment here—powder loves to escape into the air stream.
Pro move: Do a “test run” with a small batch (5-10 kg) first. Watch how the plastic moves through the pipeline—if you see it slowing down mid-pipe, reduce the feeder speed or tweak the air pressure.
Step 3: Start the System (and Monitor Like a Hawk)
Startup order matters! Always start the air source before the feeder. If you feed plastic into a pipeline with no air flow, you’re asking for a clog. Here’s the sequence:
- Turn on the blower/compressor and let it reach full pressure (this takes 1-2 minutes).
- Open the feeder valve/start the feeder motor—start slow, then gradually increase speed to your target rate.
- Watch the pressure gauges constantly during the first 5 minutes. Normal pressure should stay steady—if it spikes suddenly, stop the feeder immediately (you’ve got a blockage).
- Check the receiver discharge: Is plastic falling into the next machine (like a plastic hydraulic briquetter) evenly? If it’s coming out in bursts, the air flow might be too high.
Pro tip: If you’re using a plastic pneumatic conveying system with a dry process equipment setup, keep an eye on temperature. Friction in the pipeline can heat up plastic—if it gets too hot (over 60°C for most plastics), it might melt and coat the pipes. Add a heat sensor near the receiver to alert you.
Step 4: Run the System and Troubleshoot on the Fly
Even with perfect setup, things can go wrong. Here are the 3 most common issues and how to fix them without shutting down the whole system:
Issue 1: Pipeline Blockage
Signs: Pressure gauge spikes, plastic stops coming out of the receiver.
Solution: First, stop the feeder but keep the air running—sometimes the air alone can clear the clog. If not, find the blockage (it’s usually near an elbow or valve). Use a rubber mallet to tap the pipe gently—this can loosen stuck plastic. For stubborn clogs, disconnect the pipe section and clear it manually (wear gloves—plastic can be sharp!).
Issue 2: Air Leaks
Signs: Pressure drops suddenly, system runs longer than usual to move the same amount of plastic.
Solution: Listen for hissing sounds—leaks are often at pipe joints or valve seals. Tighten loose clamps or replace worn gaskets. Even a tiny leak (1/8 inch) can reduce efficiency by 30%!
Issue 3: Static Buildup (Flakes/Powder)
Signs: Plastic sticks to the pipeline walls or clumps in the receiver.
Solution: Ground the pipeline with a copper wire (connect to a metal stake in the ground) to discharge static. For severe cases, install an ionizing bar near the feeder to neutralize charges.
Step 5: Shut Down Safely and Clean Up
You’re done for the day—great! But shutting down haphazardly can leave plastic residue that causes problems next time. Follow this order:
- Stop the feeder first and let the pipeline clear (this takes 1-2 minutes—you’ll know it’s clear when the pressure gauge drops to near zero).
- Turn off the air source.
- Open the receiver and pipeline access doors to check for leftover plastic—use a brush to sweep out any buildup (pay extra attention to elbows).
- Wipe down the feeder hopper to remove dust—plastic dust is abrasive and can wear out the feeder over time.
Bonus step: Log the run details! Note the material type, feeder speed, air pressure, and any issues you had. This log becomes gold when troubleshooting future problems.
Maintenance: Keep It Running Smoothly (Because Downtime Sucks)
Let’s be real: No one likes maintenance, but skipping it turns a $50 part replacement into a $5,000 repair. Here’s a schedule to stick to:
Daily Checks
-
Check for leaks, clean filters (if they’re bag filters, shake them to remove dust), and lubricate feeder bearings (if manual lubrication is needed).
Weekly Checks
-
Inspect pipeline joints for wear, test pressure relief valves (they should pop open at the set pressure), and check blower belts for tightness (they should deflect 1/2 inch when pressed).
Monthly Checks
-
replace filter media (if using disposable filters), clean the separator internals, and check motor amps on the blower—spiking amps mean the motor is working too hard.
Quarterly Checks
-
Have a technician inspect the blower/compressor for internal wear, replace worn feeder parts (like rotary valve blades), and re-calibrate pressure gauges.
Pro hack: Pair this with your auxiliary equipment equipment maintenance. If your pneumatic system feeds into a hydraulic briquetter equipment, schedule their checks on the same day to save time.
Safety First: Don’t Cut Corners
Last but never least: Safety. Pneumatic systems use high pressure, and plastic dust can be flammable. Follow these rules to keep everyone safe:
- Never open a pipeline while the system is running. The air pressure can shoot plastic out like shrapnel.
- Wear PPE: Safety glasses (plastic dust in eyes hurts!), gloves (pipeline edges can be sharp), and hearing protection (blowers are loud—over 85 dB).
- Ground everything: Static electricity + plastic dust = fire risk. Ensure the system, feeder, and receiver are all grounded.
- Post emergency stops: Install big, red emergency stop buttons near the feeder and receiver—label them clearly.
- Train your team: Even if you’re the expert, anyone using the system should know how to shut it down in an emergency.
Real-World Example: A Day in the Life of a Plastic Recycling Plant
Let’s put this all together with a quick example. Imagine a mid-sized recycling plant that processes post-consumer plastic bottles into flakes, then conveys them to a hydraulic briquetter equipment to make compact blocks for shipping.
At 7 AM, Maria (the operator) starts by checking the pneumatic system: pipeline clear, blower sounds normal, feeder hopper clean. She’s moving PET flakes today, so she sets the feeder to 45% speed and air pressure to 6 psi. She runs a test batch of 10 kg—flakes flow smoothly into the receiver, which feeds the briquetter. By 9 AM, the system is running full tilt, moving 500 kg/hour of flakes. At 12 PM, she notices the pressure gauge spiking—she stops the feeder, finds a clog at a pipeline elbow (a few wet flakes had stuck), clears it, and adjusts the feeder speed down to 40%. By 5 PM, they’ve moved 4 tons of flakes, and Maria shuts down, cleans the system, and logs the day’s run. No downtime, no drama—all because she followed the steps.
Wrapping Up: You’ve Got This
Using a plastic pneumatic conveying system might seem intimidating at first, but it’s all about prep, attention to detail, and regular care. Remember: Every system is different, so take time to learn how yours behaves with different plastics. And when in doubt, refer back to this guide—or call your supplier (they love helping customers avoid mistakes!).
Now go out there and move that plastic like a pro. Your plant’s efficiency (and your sanity) will thank you.