If you’ve ever wondered how industries turn messy slurries into dry cakes or clear filtrate, chances are a filter press is the unsung hero behind the scenes. Whether you’re new to handling industrial equipment or looking to brush up on best practices, this guide will walk you through everything you need to know—from setup to shutdown, and all the little details in between. Think of it as your friendly neighbor explaining a complex tool over a cup of coffee—no jargon, just practical, actionable steps.
1. What Even Is a Filter Press, Anyway?
Let’s start with the basics. A filter press is like a giant strainer, but instead of separating pasta from water, it’s designed to separate solids from liquids in industrial settings. Picture a stack of square or rectangular plates, each with a filter cloth sandwiched between them. When you pump a slurry (that’s just a fancy word for a mix of liquid and solids) into the press, the plates squeeze together, and the liquid gets pushed through the cloth, leaving the solids behind as a “cake.” Simple enough, right? But don’t let its simplicity fool you—this machine is a workhorse in industries from mining to manufacturing, and yes, even in recycling setups like lead acid battery recycling equipment.
Real-World Example: In lead acid battery recycling equipment, filter presses are the cleanup crew after batteries are broken down. They separate the messy lead paste from the liquid, making it easier to process the paste into reusable lead and dispose of the liquid safely. Without them, you’d be left with a sludgy mess that’s hard to handle—talk about a game-changer!
2. Getting to Know Your Filter Press: Key Parts You Need to Recognize
Before you start pressing buttons, it helps to know what each part does. Think of it like learning the controls of a new car—you wouldn’t hit the road without knowing where the brakes are, right? Here’s a breakdown of the main components:
| Part Name | What It Does | Why It Matters |
|---|---|---|
| Filter Plates | The “stack” of square/rectangular plates with hollow chambers. | They hold the slurry and form the cake—damage here means leaks or uneven filtration. |
| Filter Cloths | Fabric sheets between each plate, like a super-strong coffee filter. | Catch solids while letting liquid pass—dirty or torn cloths = poor filtration. |
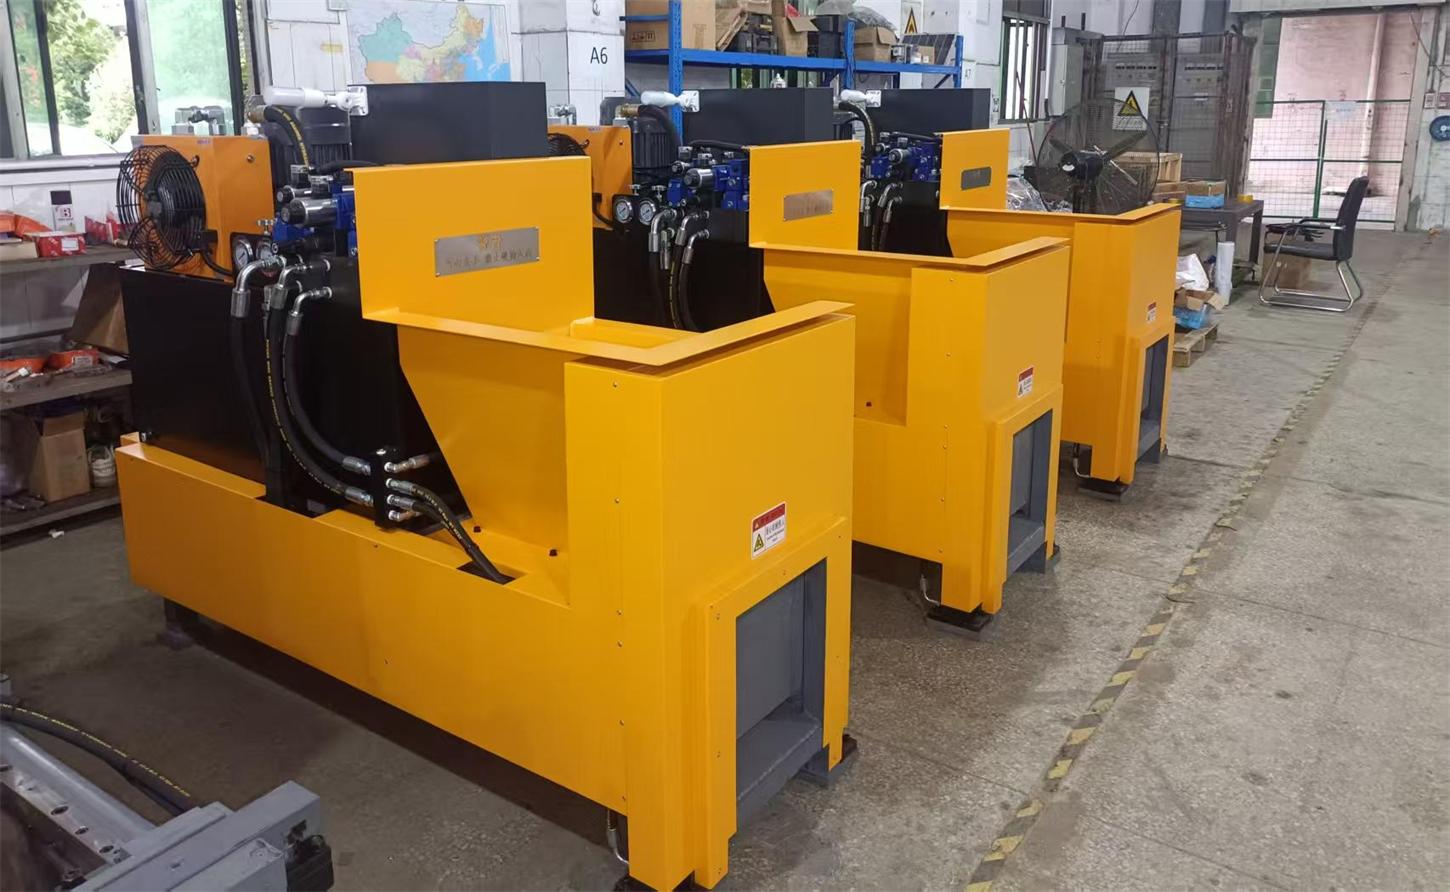
| Hydraulic System | Pumps and cylinders that squeeze the plates together. | Controls the pressure—too little, and the cake stays wet; too much, and you risk breaking plates. |
| Feed Pump | Pushes the slurry into the press. | Controls flow rate—too fast, and the cloths clog; too slow, and you waste time. |
| Filtrate Outlet | Small holes or channels where the filtered liquid exits. | Shows if filtration is working—slow flow might mean a clog. |
Pro tip: Take 5 minutes before each shift to inspect the filter cloths. Are they torn? Covered in caked solids? If yes, swap them out—this small step can save you hours of frustration later.
3. Pre-Operation Checklist: What to Do Before You Start
Ever tried baking a cake without preheating the oven? Spoiler: It doesn’t turn out well. Operating a filter press is no different—prep work is key. Here’s your go-to checklist:
3.1 Safety First—No Cutting Corners!
This might sound like a broken record, but safety should always be your top priority. Industrial equipment can be dangerous if mishandled, so gear up: steel-toed boots, safety glasses, gloves, and a dust mask if the slurry is dusty. Also, check that all guards are in place—those moving parts aren’t there for decoration!
3.2 Prep the Slurry (Yes, the Slurry Matters!)
Filter presses work best with slurries that have the right consistency. If your slurry is too runny (like watered-down paint), the solids will pass through the cloths, and you’ll get a messy filtrate. If it’s too thick (like peanut butter), the pump might struggle to push it through. Aim for a consistency similar to yogurt—thick enough to hold shape, but still pourable. If needed, adjust with water or a flocculant (a chemical that helps solids clump together—ask your supervisor if you’re unsure which one to use).
3.3 Inspect the Press Itself
- Plates: Check for cracks or warping—damaged plates can leak slurry everywhere.
- Cloths: Make sure they’re clean, tight, and free of tears. If they’re caked with old solids, give them a quick rinse or replace them.
- Hydraulic System: Check the oil level in the hydraulic tank—low oil can cause the press to struggle to close properly.
- Valves: Open the feed valve (the one that lets slurry in) and the filtrate valve (the one that lets liquid out). Close any drain valves—you don’t want slurry leaking onto the floor!
Pro Tip: If you’re using the press for the first time with a new slurry, do a “test run” with a small batch. This lets you adjust pressure and flow rate without wasting a full load—smart, right?
4. Step-by-Step: How to Actually Run the Filter Press
Now for the fun part—let’s get this machine moving! Follow these steps, and you’ll be pressing like a pro in no time.
Step 1: Close the Plates Tightly
First, you need to stack the plates together. On most modern presses, this is done with a hydraulic pump. Find the “close” button (it might say “clamp” or have a picture of plates squeezing together) and press it. You’ll hear the hydraulic system kick in—let it run until the plates are snug. How tight is “snug”? Most presses have a pressure gauge for the hydraulic system; aim for the pressure recommended by the manufacturer (usually between 80-150 bar). Don’t overdo it—cranking the pressure too high can bend the plates over time.
Step 2: Start the Feed Pump
Now it’s time to pump in the slurry. Turn on the feed pump—start slow at first, then gradually increase the flow rate. Keep an eye on the filtrate outlet: you should see liquid starting to drip or flow out within a minute or two. If nothing happens, check if the feed valve is open—we’ve all forgotten that step before! As the slurry fills the plates, the solids will start to build up on the filter cloths—this is the “cake” forming.
Pro tip: Don’t rush this step. If you pump too fast, the cloths can clog, and the press will take longer to filter. Think of it like watering a plant—slow and steady wins the race.
Step 3: Let It Press—Patience Is Key!
Once the plates are full (you’ll know because the filtrate flow slows down or stops), it’s time to let the press do its magic. Some presses have an “auto-press” mode that maintains pressure for a set time; others need you to monitor it manually. Let the plates squeeze for 15-30 minutes (or as recommended by your supervisor) to get as much liquid out of the cake as possible. The longer you press, the drier the cake will be—and drier cake is easier to handle and transport.
Step 4: Open the Plates and Remove the Cake
Once the cake is dry, it’s time to open the press. Press the “open” button (or “unclamp”)—the hydraulic system will release the pressure, and the plates will start to separate. As they open, the cake should fall out on its own (if not, gently tap the plates with a rubber mallet—no sledgehammers, please!). Collect the cake in a bin or conveyor belt—this is the solid waste (or reusable material, like in lead acid battery recycling equipment) you’ve been working toward!
Step 5: Clean Up (Yes, Even the Boring Part Matters)
You’re not done yet! After removing the cake, take a minute to clean the plates and cloths. Rinse them with a hose to remove any leftover cake—if you leave it to dry, it’ll harden and make next time’s job harder. Check the filtrate outlet too—sometimes solids can clog the pipes, so a quick flush with water will keep things flowing smoothly. Trust us, your future self will thank you for this step.
5. Maintenance: Keeping Your Filter Press Happy (and Working!) Long-Term
Like any machine, a filter press needs regular TLC to stay in top shape. Skip maintenance, and you’ll end up with leaks, slow filtration, or even a broken press—no one wants that. Here’s a simple schedule to follow:
| Frequency | Task | Why It’s Important |
|---|---|---|
| After Every Use | Rinse plates and cloths; check for leaks. | Prevents cake buildup and catches small issues before they get big. |
| Weekly | Inspect filter cloths for tears; lubricate hydraulic hinges. | Torn cloths cause poor filtration; dry hinges make opening/closing hard. |
| Monthly | Check hydraulic oil level and condition; clean filtrate pipes. | Low oil damages the hydraulic pump; clogged pipes slow down filtration. |
| Quarterly | replace worn filter cloths; inspect plates for cracks. | Fresh cloths mean better filtration; cracked plates lead to leaks. |
Quick Fix: If you notice the filtrate is cloudy (instead of clear), it’s usually a sign the filter cloths are worn or clogged. Swap them out, and you’ll be back to clear filtrate in no time!
6. Troubleshooting: Common Problems and How to Fix Them
Even with the best prep, things can go wrong. Don’t panic—most issues have simple fixes. Here are the ones you’re most likely to run into:
Problem: The cake is too wet (squishy, not crumbly).
Solution: Press the cake longer, or increase the hydraulic pressure slightly (but don’t exceed the manufacturer’s limit!). If that doesn’t work, check if the slurry was too runny—next time, add a flocculant to help solids clump.
Problem: Slurry is leaking between the plates.
Solution: The plates probably aren’t clamped tight enough. Close the press again and increase the hydraulic pressure. If leaks persist, check for warped or cracked plates—those might need replacing.
Problem: The feed pump is struggling to push slurry in.
Solution: The slurry might be too thick. Thin it with a little water, or check if the feed valve is fully open. If the pump is making strange noises, it could be air in the lines—bleed the pump by opening the air release valve until water (not air) comes out.
7. Beyond the Basics: Pro Tips for Filter Press Pros
Now that you’ve got the basics down, here are a few extra tips to make you look like a seasoned pro:
- Match the cloth to the slurry: Not all filter cloths are the same! Polyester cloths work well for acidic slurries, while polypropylene is better for alkaline ones. Ask your supplier which material is best for your specific setup.
- Keep a log: Jot down how long each cycle takes, the pressure used, and how dry the cake is. Over time, you’ll spot patterns—like “on Mondays, the slurry is thicker, so we need to press 5 minutes longer”—and adjust accordingly.
- Train your team: Even if you’re the go-to filter press expert, make sure others know the basics too. Cross-training prevents delays if you’re out sick, and it’s always good to have a second pair of eyes.
8. Wrapping Up: Why This Matters
By now, you should feel confident enough to walk up to a filter press and start it up—no nerves, no guesswork. Remember, this machine isn’t just about separating solids and liquids; it’s about efficiency, safety, and making industrial processes run smoothly. Whether you’re using it in water process equipment to treat wastewater or in lead acid battery recycling equipment to recover valuable materials, a well-run filter press saves time, money, and headaches.
So go ahead—give your filter press a little nod the next time you use it. It might not have a personality, but it’s definitely earned your respect. And if someone asks you for tips? Pass along what you’ve learned—sharing knowledge is how we all get better at this industrial equipment thing.
Here’s to dry cakes, clear filtrate, and smooth operations—you’ve got this!