Getting Started: What You Need Before Your Baler Arrives
So you've taken the plunge and invested in a hydraulic baler - smart move! Before that rig shows up with your shiny new equipment though, there's some prep work that'll save you headaches down the road. Think of it like setting up your kitchen before you start cooking a big meal – get your space ready and ingredients prepped. Hydraulic balers aren't one-size-fits-all; what you'll need depends on your specific model and setup.
Electrical Requirements
Hydraulic balers are thirsty beasts when it comes to power. Most industrial models demand three-phase electrical power . How big of a circuit you need depends on the combined motor load, so reach out to your manufacturer for exact specifications.
Location Planning
Where you put your baler makes all the difference:
- Workflow integration: How does it connect to existing equipment?
- Material handling: Easy access for loading and bale removal
- Foundation matters: Most need reinforced concrete that's level and stable
- Maintenance access: Can technicians actually reach crucial parts?
- Environmental safety: Keep distance from drains to prevent hydraulic spills
The Logistics Game: Freight & Unloading Strategies
When that big rig pulls up with your baler, you'll want everything humming like a well-oiled machine. Here's how to avoid the chaotic unloading scramble:
Freight Details That Matter
Partner with carriers specializing in machinery transport:
- Opt for flatbed trailers with air ride suspension to prevent damage
- Confirm exact delivery/pickup windows – idle rigging crews get expensive
- Verify insurance coverage – manufacturers rarely cover transit damage
- Oversize load? Prepare for DOT regulations and premium pricing
The Art of Professional Unloading
This isn't a DIY moment unless you regularly move heavy machinery. Hire qualified riggers who:
- Carry proper insurance and credentials
- Do a site walk-through in advance to plan the route
- Spot clearance issues (overhead wires, tight corners, uneven floors)
- Use specialized equipment tailored for industrial machinery
Hands-On Installation: Making Everything Click Together
Now the fun part begins! Unboxing and assembling your baler should feel like putting together an industrial-scale puzzle.
Unboxing & Inspection Checklist
Before you dive into assembly:
- Damage report: Photograph any shipping damage immediately
- Part inventory: Match contents against the packing list
- Component check: Examine hydraulic cylinders, valves, and fittings
- Pre-cleaning: Remove packing materials and shipping grime
Step-By-Step Assembly Guide
Follow the manufacturer's manual precisely but remember:
- Start with a perfectly level base using precision tools
- Build the frame skeleton and verify alignment before tightening all bolts
- Install hydraulic components with clean connections and correct seals
- Mount the control panel where operators can easily see it
Hydraulic & Electric Integration
The critical moment when all systems connect:
- Use manufacturer-specified hydraulic fluid
- Verify all electrical connections match schematics
- Ground systems thoroughly to prevent electrostatic issues
- Secure all cables and hoses away from heat sources
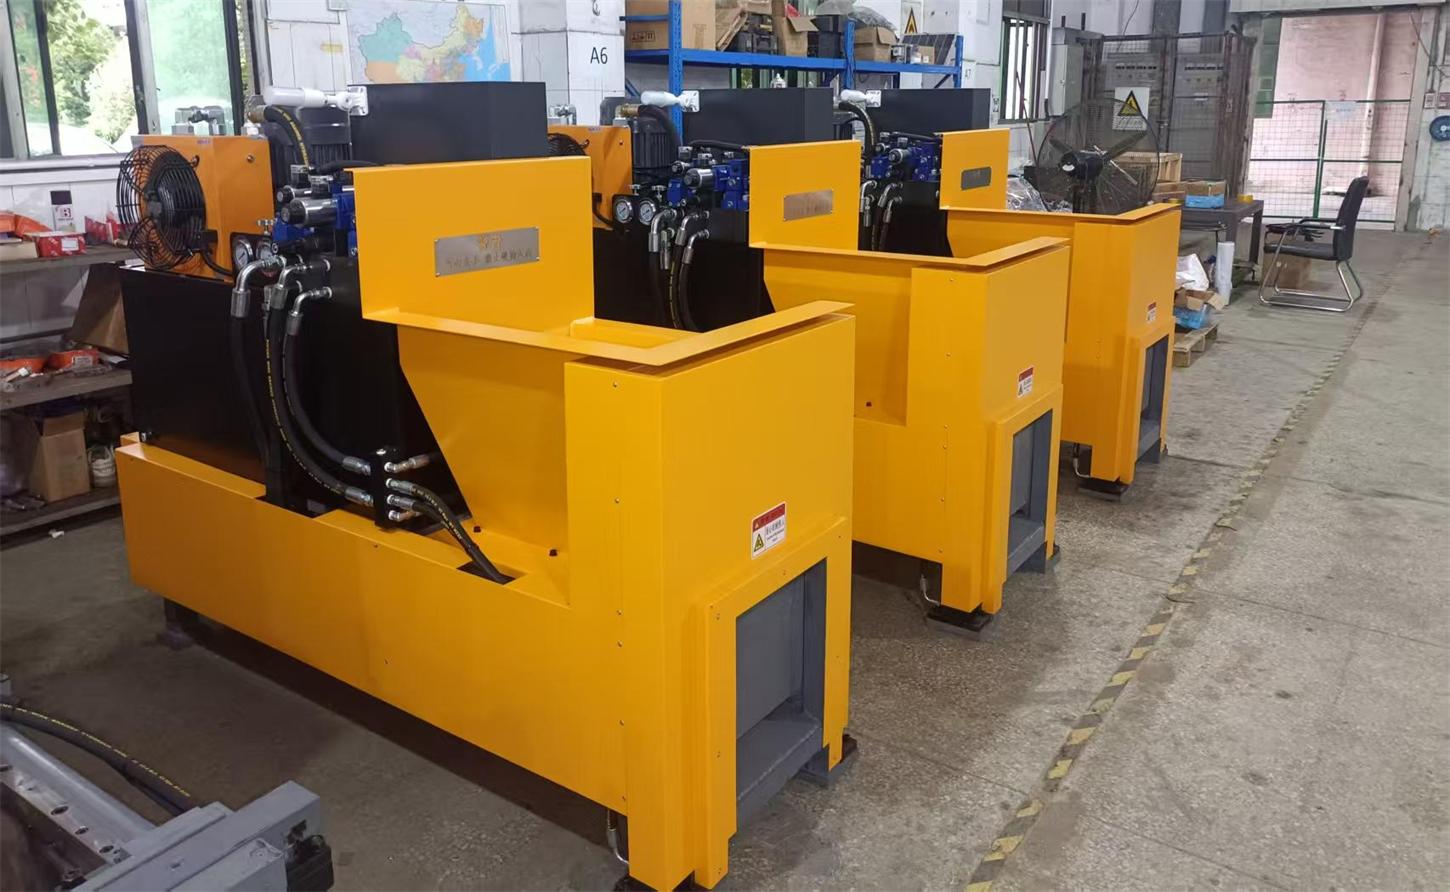
Proper setup of the hydraulic press system ensures optimal pressure throughout operation.
The Moment of Truth: Startup & Testing
First test runs feel like launching a rocket – both thrilling and slightly terrifying. Do it right and you'll avoid phantom issues down the road.
Pre-Launch Checklist
- Safety verification: All guards installed? Emergency stops working?
- Fluid levels: Hydraulic oil at proper level and viscosity
- Material prep: Have "virgin" material ready (manufacturers hate recycled test material)
- Personnel ready: Everyone wearing proper PPE, positioned safely
Phase Testing Approach
Don't just jam material in and hit go:
- Dry cycle: Run all functions without material to spot mechanical issues
- Low-volume test: Process 10-15% capacity to check basic functions
- Pressure testing: Gradually increase density settings over multiple cycles
- Full production simulation: Run continuous operation for 2+ hours
Beyond Installation: Optimization & Long-Term Success
The job isn't done when the installation team leaves. How you maintain and operate your baler determines whether it becomes a profit center or maintenance nightmare.
Operator Training Essentials
Don't assume workers know baler specifics:
- Include maintenance staff in training
- Show where critical wear points are monitored
- Practice jam clearance procedures
- Document everything – turnover will happen
Preventative Maintenance Schedule
Follow manufacturer guidelines like gospel:
- Daily: Visual inspection, check fluid levels, clean sensors
- Weekly: Tighten fasteners, clean hydraulic filters
- Monthly: Oil analysis, cylinder alignment checks
- Quarterly: Valve calibration, pressure testing
Service Partnership Strategies
Don't wait until breakdowns happen to build relationships:
- Establish communication protocols during installation
- Identify spare parts that justify local stocking
- Know service response times for different issues
- Include service metrics in vendor performance reviews
Wrapping It Up: Making Your Investment Pay Off
A hydraulic baler installation isn't just about bolting equipment to the floor – it's about setting up an efficient materials processing ecosystem. Remember:
The quiet hum of a properly installed baler making perfect bales is one of the sweetest sounds in recycling operations. Take these lessons beyond your initial installation and build processes that make equipment changes, upgrades, and relocations smooth transitions rather than costly disruptions.